I recently blogged about my journey to finding the perfect Save the Dates here and I said that I'd be doing a detailed post about just how I put them all together and so ::drumroll please:: here it is!
(Like I said, it's pretty detailed, so it's pretty photo heavy. You've been warned.)
So, if you didn't see, my Save the Date inspiration were these little guys...
 |
| source |
Now... on to mine. First I'll start with what I used to make them...
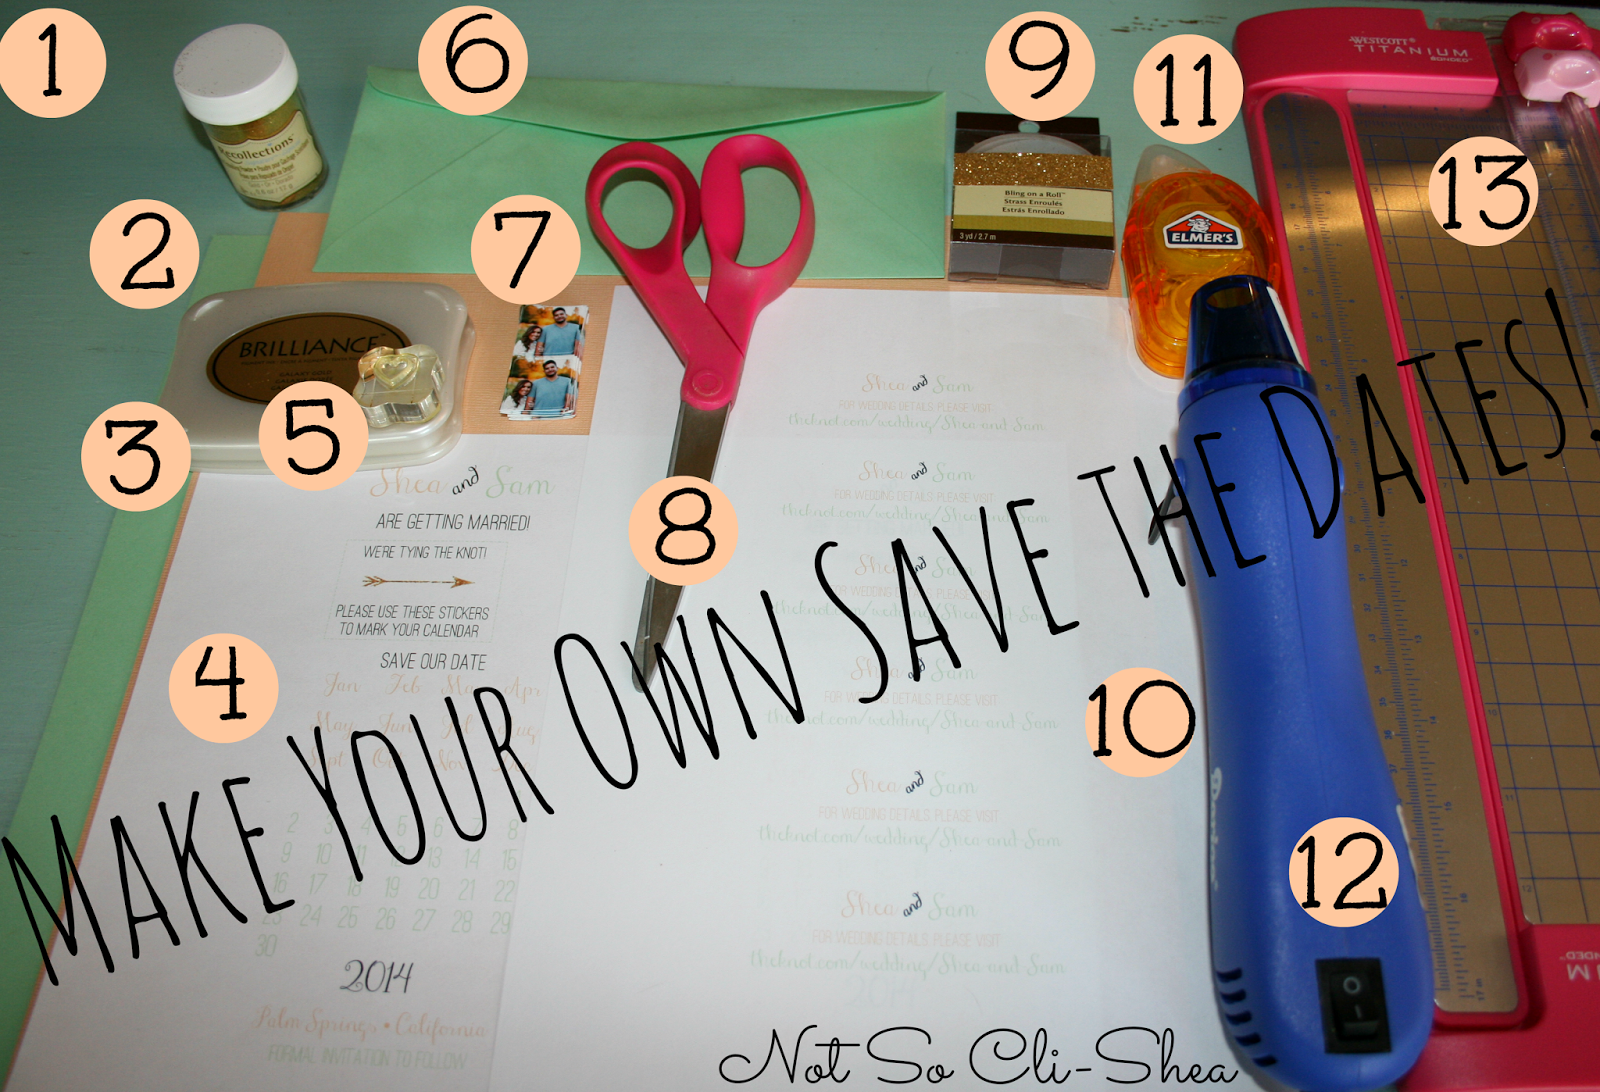
1. Gold Glitter Embossing Powder ( I don't know why I put the number so far from the powder, sorry about that. )
2. Cardstock (I have two colors, one for the save the date, and one for the wrap, you'll see what I mean later)
3. Gold Pigment Ink
4. Save the Date Print Outs
5. Heart Stamp (on a clear block so that I can see exactly where I'm stamping)
6. Envelopes
7. Prinstagram Prints (cut out of book)
8. Scissors
9. Glitter Tape or "Bling on a Roll" as the packaging says
10. Wrap Print Outs
11. Tape strips of some kind
12. Heat Tool
13. Slicer (makes all the cutting MUCH easier)
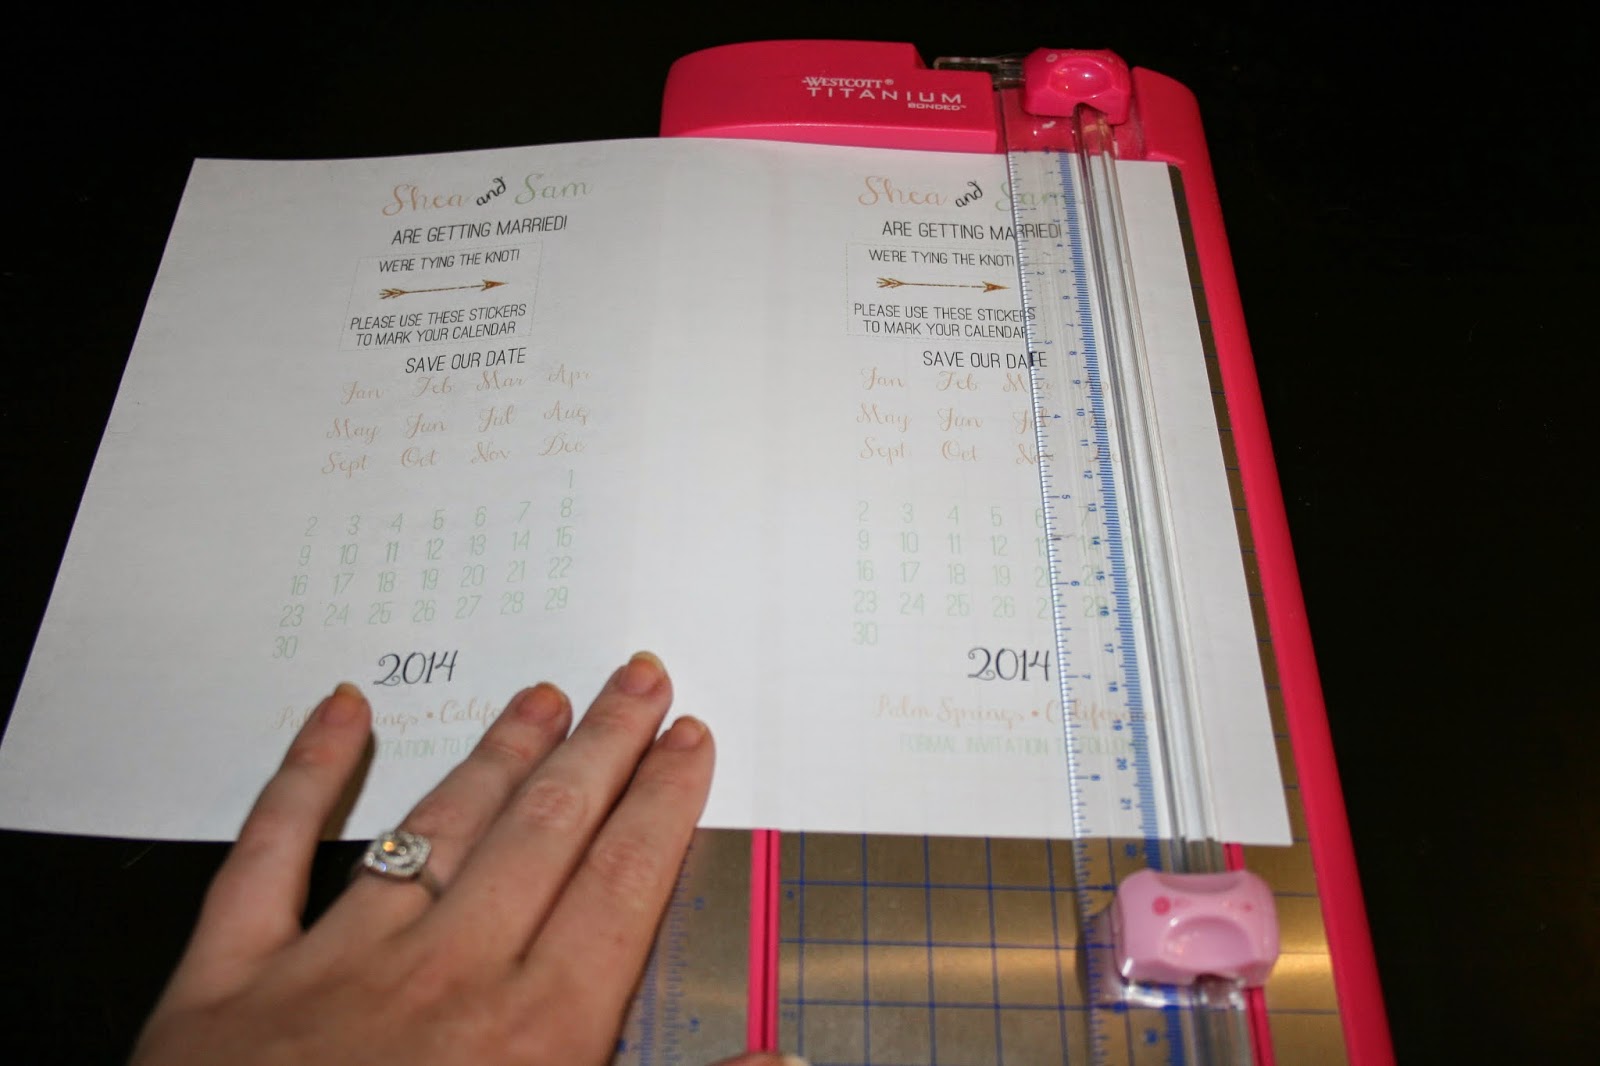
I started by cutting down my save the date print outs down to a good size (which I just created using Microsoft Word believe it or not).
 |
| (Side Note: Please excuse my hands in all of these photos... I need a manicure BAD) |

I then got all my embossing tools together (stamp, pigment ink, embossing powder and heat tool) and embossed a heart around both the month and date of our wedding.
 |
| (If you're unfamiliar with embossing, it's AWESOME and I'll be doing a tutorial video on it soon) |
Here's what the embossing looks like afterward. Pretty great right?

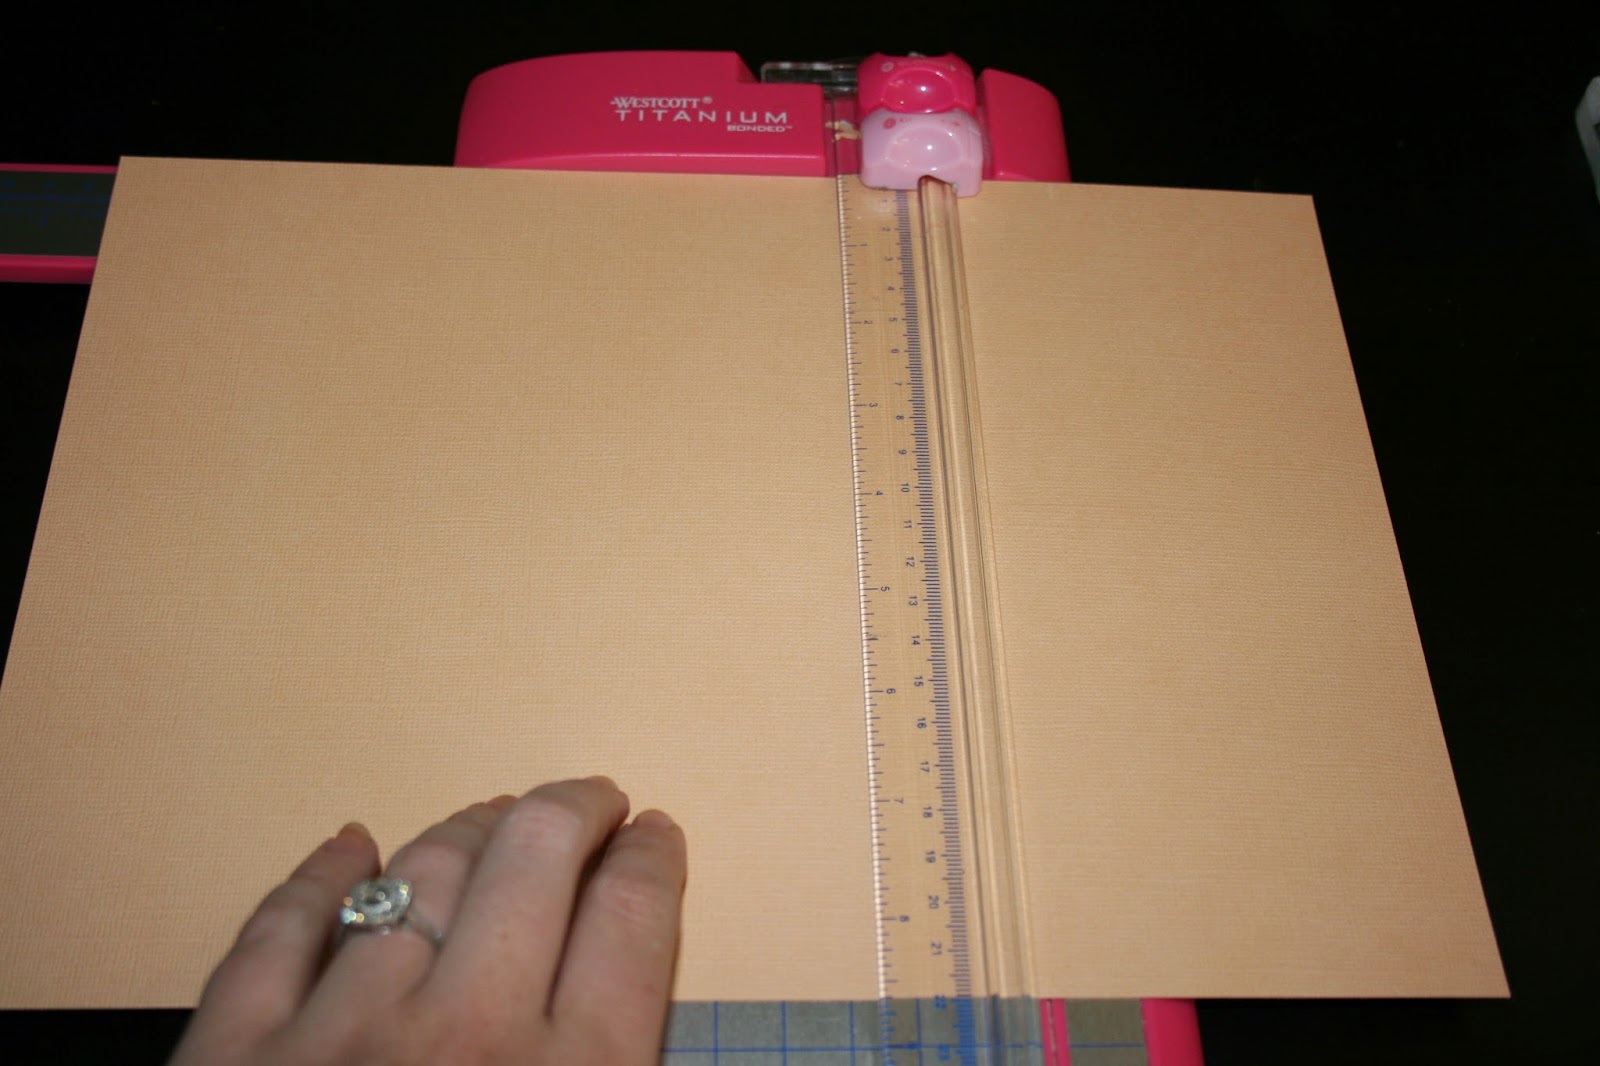
I then cut down both the peach cardstock (that I used for the Save the Date itself) and the mint cardstock (not pictured) that I used for the wraps.
I put a line of tape strip on both of the long sides of the print out.
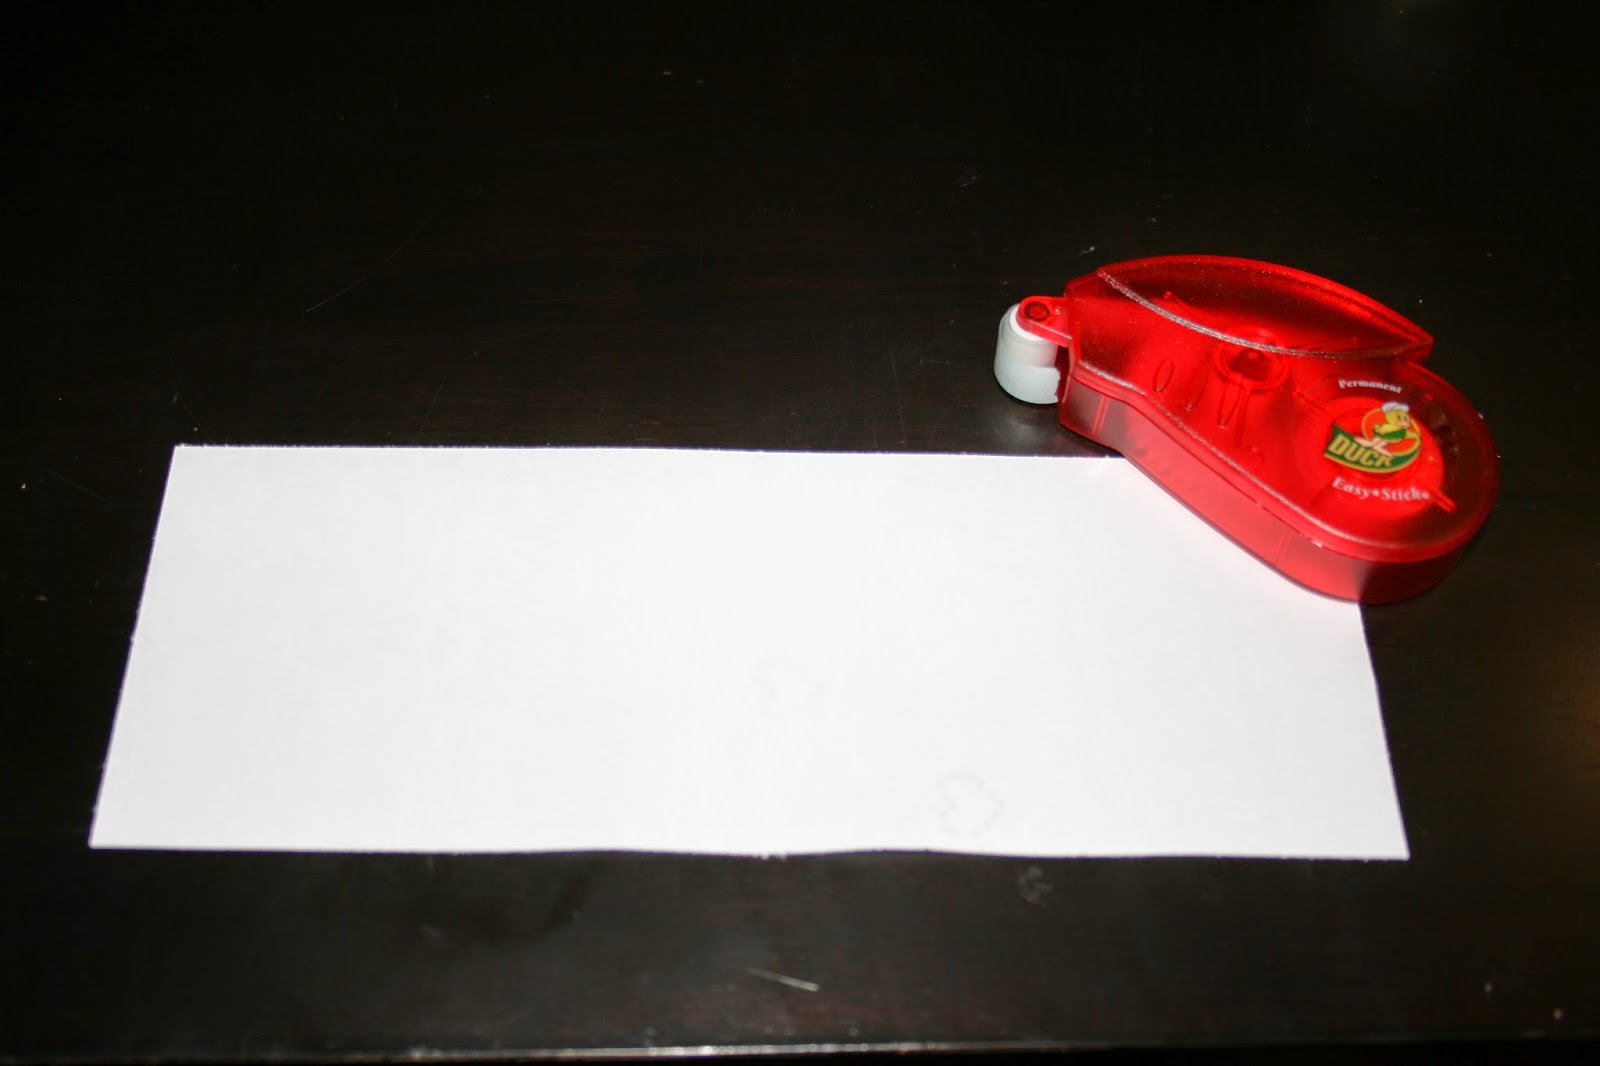
And then attached it to the peach card stock. 
Almost done! Time for a few finishing touches. I cut pieces of the gold glitter tape into about 2 inch strips. I found it to be much to thick, so I cut them all in half lengthwise (as you can see here and was much happier with them). I also put a line or two of the tape strip onto the Prinstagram photos and attached them.
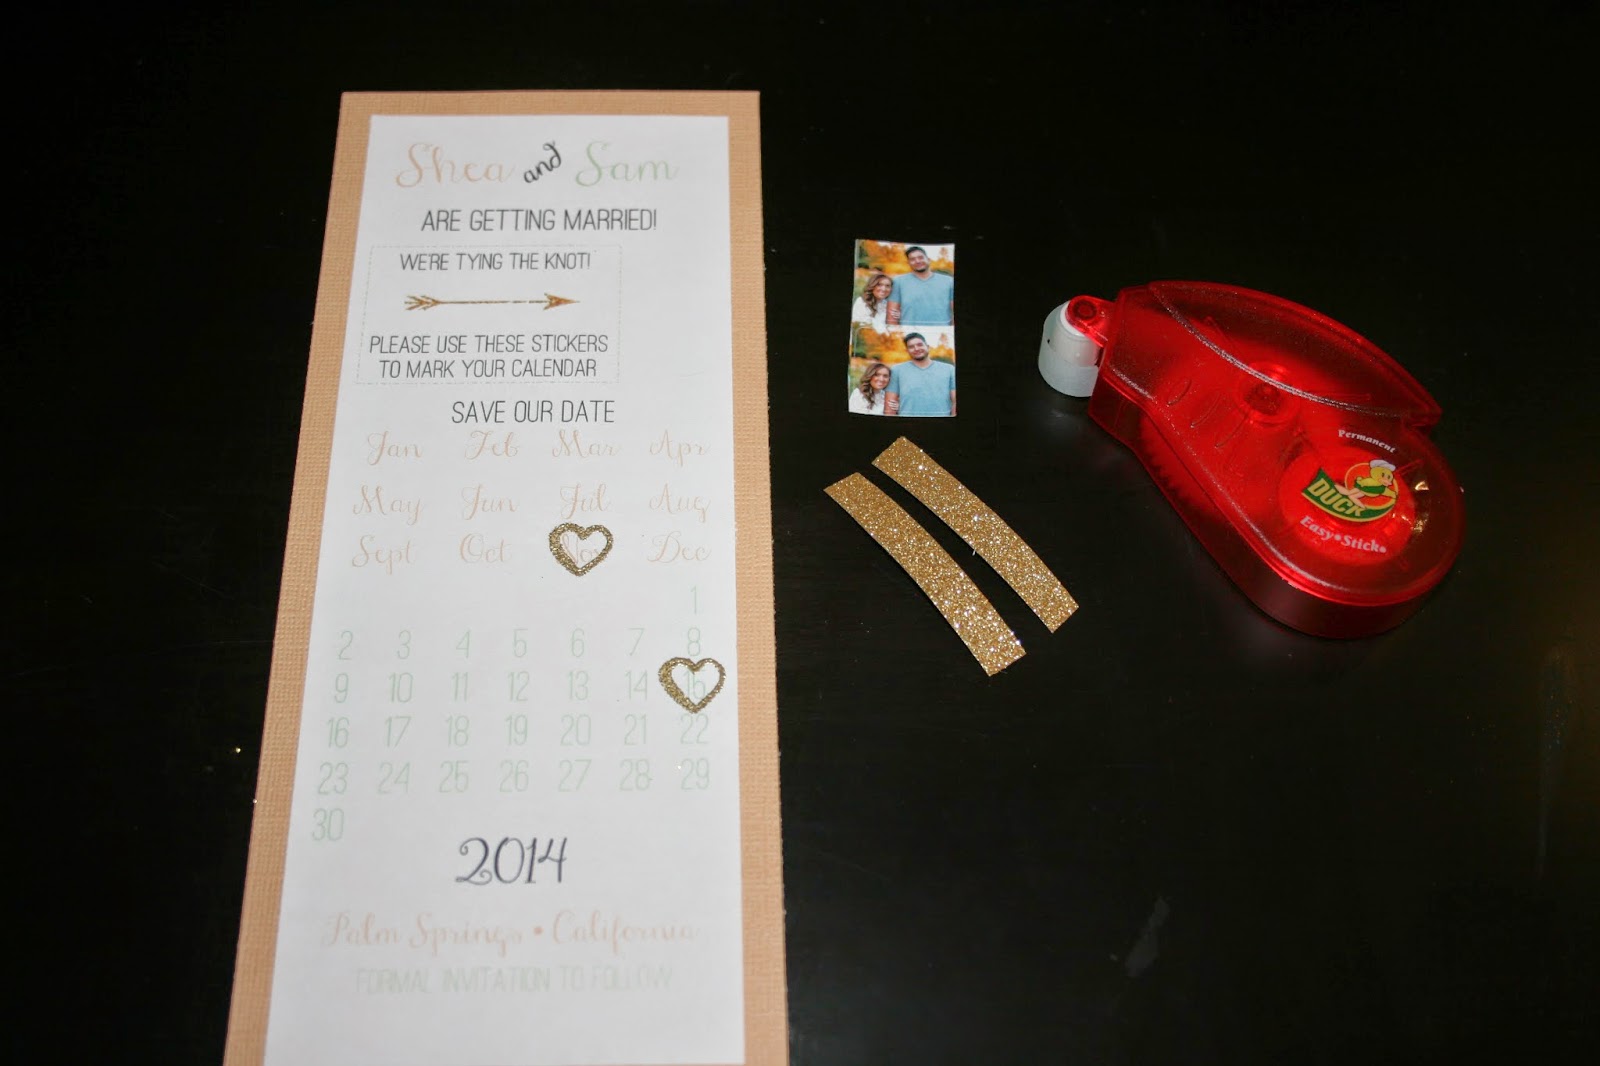
Getting closer!

Now, finally, the wraps. I decided to add the wraps to give people our website, so that they could find more information about the wedding. I again simply used a line of the tape strip and attached my print out to my pre-cut cardstock.

Placing the wrap on the Save the Date, I was able to line it up and make sure that the script was centered.

I flipped everything over and used the bottom of the save the date as my guide, to make sure that I was doing it straight. And again, added a line of tape strip (I used SEVERAL of these throughout the process) and that was it! I slid the wrap closer to the middle and....

The were done! I'm SO happy with the way that they turned out! They certainly look a lot of time (and patience) but because of that they are completely unique and completely ME!

I've been getting so much wonderful feedback via text and photos of people loving them which makes it even that much more rewarding!
Let me know if you have any questions about how I did anything!

1 comment:
This is such a cute post! I love your save the dates!!
Post a Comment